
Traffic Light Tracking
March '18
Traffic Light Tracking
March '18
Computer Vision
March 2018
Background
LiDAR- what it is, why it is relevant
Reference Velodyne LiDAR page
Remote Sensing- class at UMD, build our own LiDAR systems to map something on campus --> note less design, more build

March - April 2018
3D Printed Prosthetic Foot
Background
This was a semester long project in which I worked with three other students to design a design a foot for a six year old transtibial amputee who lost the lower portion of his leg in a home accident.
Unfortunately, there were and still are few prosthetics available on the market that fit his needs.
The foot was to be sketched then modeled in Solidworks before ultimately 3D printing the design using PLA. Finally, the model would be impact tested to measure it's overall effectiveness.

Design Process & Preliminary Design

Secondary keel
Primary keel
Constraints
In order to 3D print this design we were constrained to something that can actually be printed using a FDM printer. This means that our foot had to be designed in a way that considers the orientation of the print as well as the necessary supports for printing.
The size of the print is also limited by what will be usable for the child: the foot length should be about 18cm, the foot weight cannot exceed 180g (~.4 lbs), and the height at the heel should be around 9cm from the ground. All of these dimensions consider the patient's size in addition to other standards commonly used for prosthetics.
Source: Link
Small slits

Source: Link
Inspiration
We sought inspiration in the current design of prosthetics. Current high-activity prosthetics have a variety of designs that maximize stability, usability, and balance. From these we decided to use a dual keel on top of the foot . These provides further resistance to bending of the foot and gives a higher energy return to the user
In addition, we gained inspirations from both shoe sole design and human anatomy. Nike Free Runs have small slits in the sole to allow for maximum flexibility and comfort. We decided to incorporate this into the top of the foot to allow for locations where the foot can absorb any bending.
We also added a heel to provide maximum stability under the weight of the user.
Overall, our design is modular in that the front portion of the foot can be taken off and replaced with other fitting for different activities. This allows the user, a six year old, to participate in a variety of activities and not feel limited by his foot.
Preliminary Prototype: Sketch, CAD Model, and Testing

This sketch was done by one of my team members. She is a far better sketcher than I am.


I modeled our design in SolidWorks through a two part assembly of the heel and main foot (arch portion) parts. The two pieces would be connected by a bolt.
Prior to impact testing, I anticipated failure in the heel portion along the two cylinders jutting out of the circular portion.
Sure enough, the model fractured along the heal supports.
It's worth noting that we hoped to put shock absorbing material between the foot and the heal, but we were not able to get the material in time.
Pylon adapter
NinjaFlex material (Source: Link)
Final Prototype: Sketch, CAD Model, and Testing
We approached our final design focused on improving the heal.
This involved exploring different materials for better shock absorption, making the design more compact, and adjusting the pylon adapter to better attach to the boy's limb.

Design Adjustments
The final design for the foot had to contain a pylon adapter which would securely attach the foot to the user's leg. During our preliminary tests, the pylon loosely fit on top of the foot-- something that would have never worked in actual use. Therefore, we designed the top to snuggly include pylon adapter.
Next, we redesigned the heal to make it more compact and eliminate key failure points on the preliminary design. This involved making the heal one entire piece with no openings or fracture zones.
The foot would remain mostly the same, but be downsized to the correct dimensions.

Material Selection
During our preliminary tests, we were only limited to using PLA (plastic) which was overall fairly strong given the infill we were using. As a whole though, PLA shears very easily based on how it is printed and is very susceptible to fracture.
As a result, we opted to use a more flexible material known as NinjaFlex. This material is sponge-like and would allow for better shock absorption.
One of the downsides with this material is that it is rather finicky to print. The plastic cures at a higher temperature and the build plate itself has to be heated (not needed for PLA). Also, the sponge-like texture would likely not provide sufficient response for the user and feel as if it "sinks" too much for comfort.


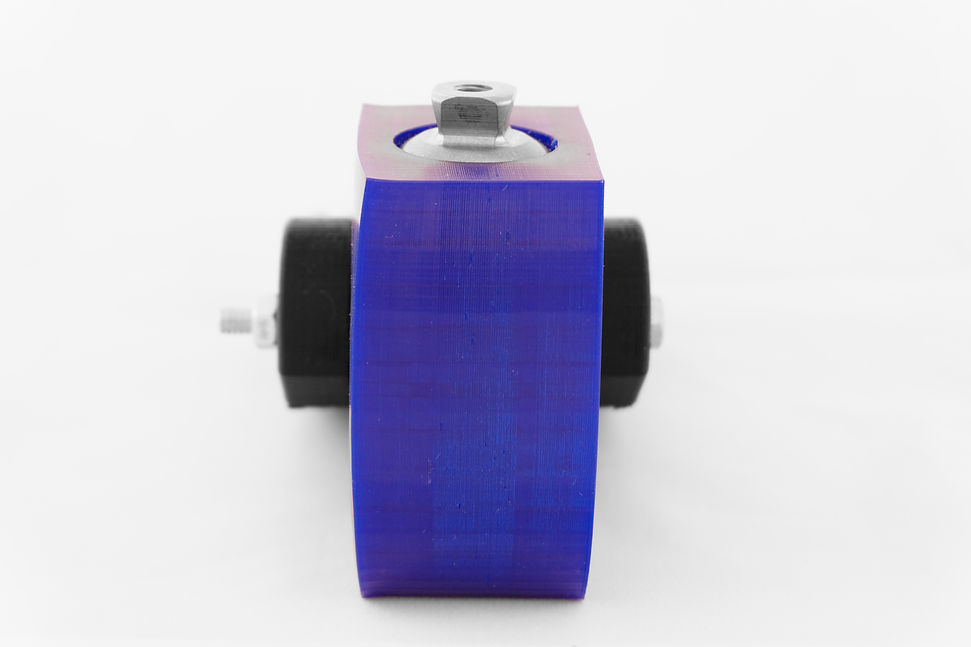
Unfortunately, we were unable to get a video with the final prototype, but in the above video the heel/keel (blue) are sized to the same scale as the final model, but the foot (red) is not.
The material fully absorbs the impact of the sledge hammer without any failure in either the foot or heel/keel. The material does provide some energy return, though were not able to measure how much.
Lessons Learned
We learned a bunch of lessons from this project. First, we learned to source and order material early. A critical delay in ordering the material needed to absorb shock during the preliminary test led to a guaranteed fracture.
Second, we learned the importance of exploring different materials and looking for ways to incorporate their benefits into design. We couldn't have done this, however, without knowing their limitations. NinjaFlex worked great for shock absorption, but the keel on the final prototype was disformed during the print due to uneven cooling of the plastic. We were fortunate that the print was still successful.
Furthermore, truly human centered design is very hard to achieve without the ability to get constant feedback from the end user. In this case, we didn't have access to the six year old boy to hear what mattered most to him in designing his prosthetic.
Lastly, this project reminded me of the importance of assembling a diverse team. Each of my team members had a unique background in Art & Design, Biology, Mechanical, and Biomedical Engineering. This helped make our final product even better.